Saturday, 11 April 2015

Where I Work - Part 2

Continuing the tour of my little work space (Click here for Part 1 of the tour) It is only a small space, in the downstairs of our high-set Queensland home.  A space I co-habit with the kids play area and the garage.  But it is mine, and I enjoy spending time in it.

 As I mentioned in my last post, most of the furnishings here are second hand or started life as something else.  It is as much fun creating in this space as it is creating this space. 
One of my favourite things here is the print above the shelving, it is by the lovely Marika.

Little shelves are always very handy to store little knick knacks and little art supplies.I picked up this set from a recyclers.  I crochet the Art Spectrum markers holders on top of the shelving

My lovely friend Vicky bought me the nesting dolls back from Europe and the little concertina book was made by Leah at Leahs Paper Passion .  The cute little drawers are actually stamps.

The little wooden boxes are lettering stamps and apart from the pigment and acrylic inks, most of the other things here are bundles of paper and cardstock for making into gift tags.

Once again, thank you for stopping by for a visit to my work space.  I hope you enjoyed it and will pop back for Part 3.


Monday, 6 April 2015

Where I Work - Part 1

Please forgive me, I have been very blog quiet for the last month.  But I have been very busy and there has been a lot going on. 

I have finally got my reclaimed workspace sorted out (see the original story here)  So I thought I would give you a little tour over the next few posts.  Enjoy......

 Overall view....it is not all that big, but everything is within reach.

Apart from the desk and white Ikea unit, most of the furnishings are second hand or repurposed items. I don't have a huge craft/art budget and prefer to put it towards what I work on rather than where I work ie good quality supplies.  Besides, it is fun creating and altering things for my work area.

Just to the left of the desk.  This is a drawer out of an old entertainment unit.  I took the handles off and glued decorative paper to the back.  
  
 My 15 year old and I love little bowls.  These two hold shells for my polymer clay snails and ink nibs that I use with the white pigment ink.  The lovely butterfly card was created by Leahs Paper Passion (love her work)  I made the dream plaque and little birdhouse.

 Ikea containers, holding coloured pens and a large assortment of black fine line markers.

 Works in progress.....My Dad made the little wooden frames and shadow boxes, and hubby cut the blocks for me.   
The box holding the wooden pieces is actually a tissue box, with the top cut off and then covered with wrapping paper.  

Saturday, 7 March 2015

Coffee Table Confessions

OK, I have a confession to make.........nothing overly earth shattering, let me assure you, but still.....
Do you remember my lovely workspace?  Here is a reminder. Well, being the caring, generous mother that I am, I gave up this lovely creative hub about a year ago so my kids could have their own space to hang outin, be creative, have their computer, lego, other assorted kid stuff and generally call their own.  And it worked well for them......but not for me. 

 My confession is that for the last year I have drawn, painted, polymer clayed etc while sitting on the lounge with a board on my lap.  

It doesn't sound too bad, and it isn't, but sometimes the lounge room looks like an art supply store, the coffee table gets inundated  with a huge array of bits and pieces and I think I have worn out the springs on one end of the lounge.  What make it worse is that I have to pack it all away at the end of the night.  This is the family lounge room, we eat in it, watch TV in it and casually sit around with our feet on the previously mentioned coffee table (if there is room) 

So as of this weekend things are changing and I am taking back my space.
Stay tuned for further updates.

 The computer has been relocated to a smaller desk.  
Hubby gets the joy of reconnecting it all.

 The 15 year old gets to sort out this pile of "stuff". 
 I am sure he will think he needs to keep it all.

 Lego, bionicals and other assorted small plastic pieces 
will need to be re-homed

 Our coffee table on a normal day

House & Garden are not beating down our 
door for photo shoots.

My reclaimed blank canvas. 
 It took quite a while to de-lego this area.


Saturday, 28 February 2015

Beanies in Summer??

It is the last day of summer here in sunny Brisbane and don't ask me why, but I got the urge to crochet a beanie.  I have never done one before so I jumped on pinterest and took a wonder.....so many choices and so many variations!  In the end I settled for  fairly simply looking pattern and got down to it.  

3 hours later I had a rather ugly beanie that didn't fit me.  But the magic of crochet is that you can always pull it apart and start again.  And this time, with the basic understanding of how to make a beanie, I made it up as I went along and ended up with something I rather liked!

I am thinking of writing up the pattern and offering it here for free.  Would you like that? 


Thursday, 5 February 2015

Colour me happy

I have finally found a silver lining to the yearly 'kids back to school stationery buying drag'
These little beauties just leaped out at me while I dragged myself and two kids through the parent packed isles of Officeworks.  I swear, they did jump out, they did leap up and down and they definitely screamed "you need me"


Happy happy days when I get to sit down and draw with colour, and here are some of the doodles I came up with.  Some of these are for sale on my facebook page.
I was having so much fun creating these images that I also added white pigment in, acrylic paint and colour pencils - fun fun fun!!


Saturday, 24 January 2015

With Love


My gift to you for Valentines Day.......
And my way of saying thank you to all of my lovely blog followers and facebook likers

All you have to do is click on the image below and you will be taken to Mediafire.  You can then download the image and print it out on A4 paper for yourself!!!


**All I ask is that you only download the image for your own personal use - thank you **

Wednesday, 14 January 2015

Great therapy

Such a nice way to relax and unwind once the day is over and all the things that need to be done are done.......
A piece of coloured card and some white pigment ink....


Saturday, 13 December 2014

Lacy Doodlings

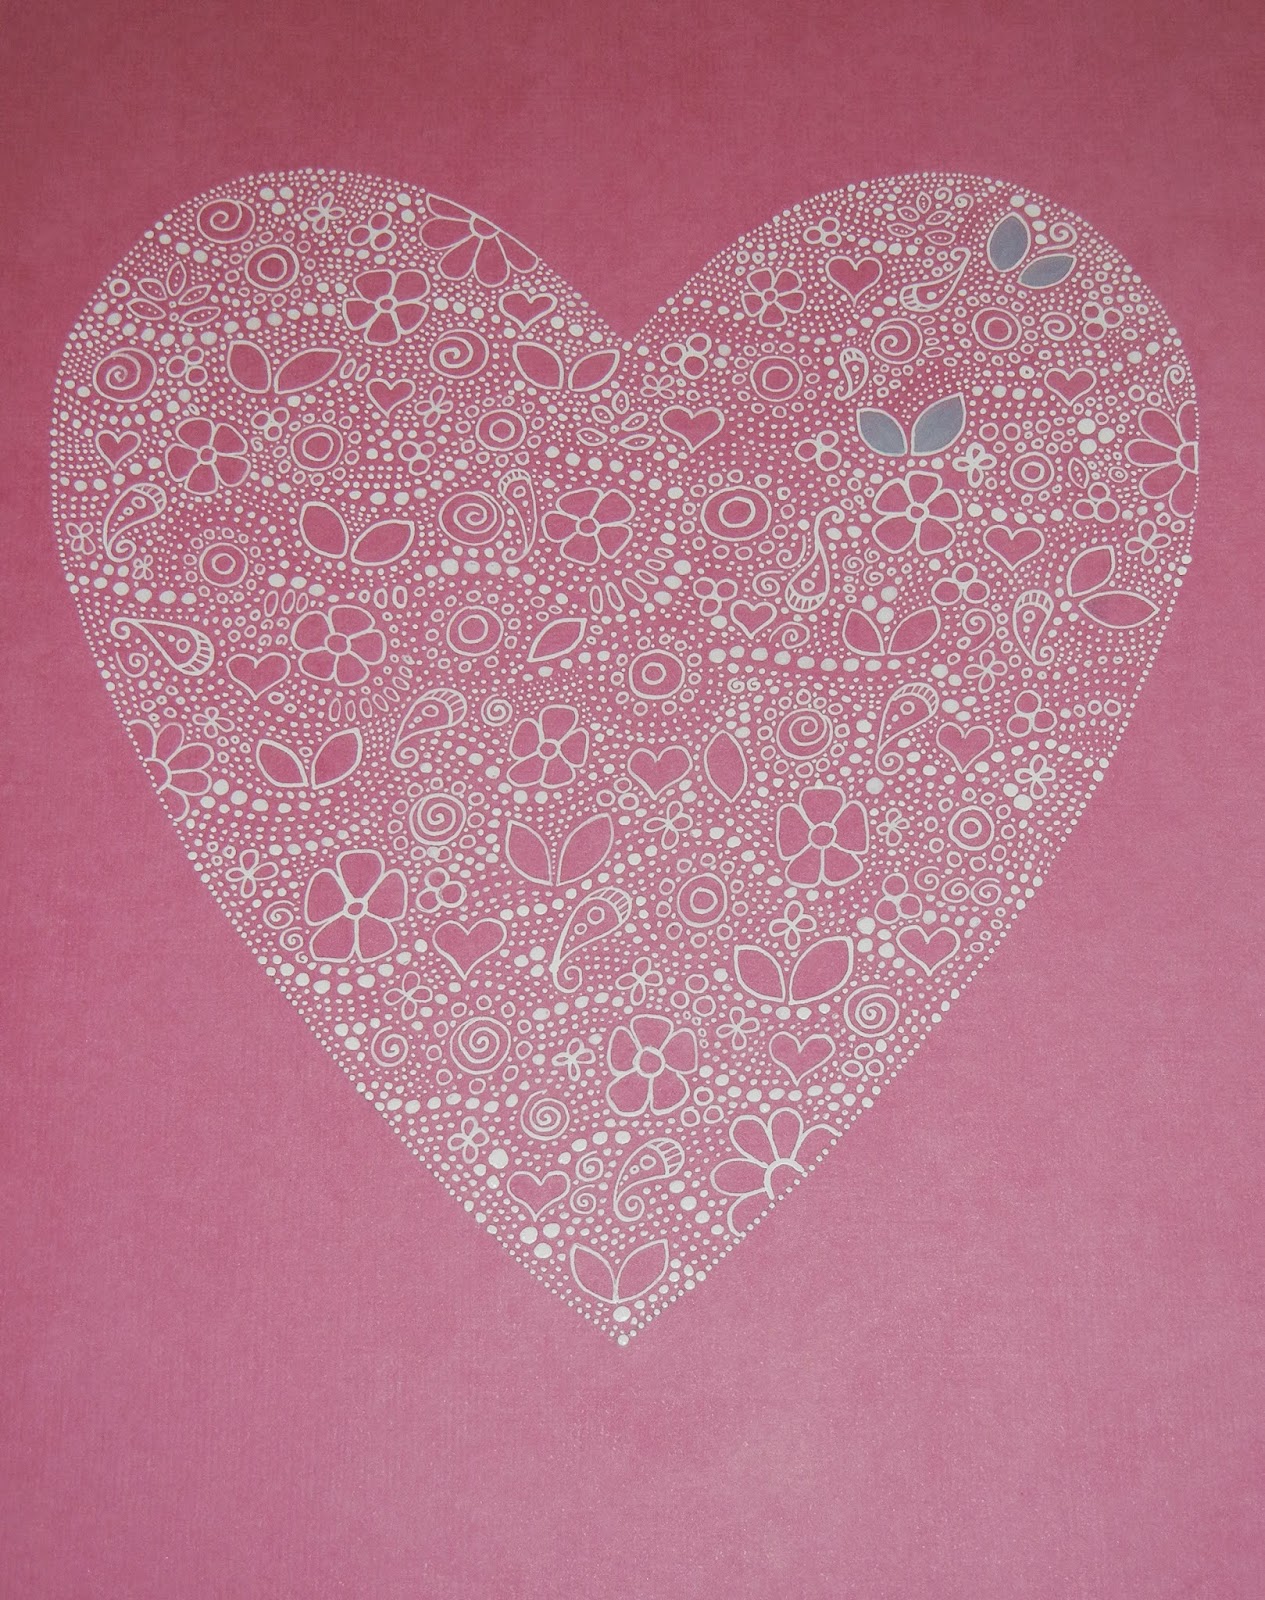
This week I have been having a lot of fun with pigment ink and coloured card stock.  I have been doodling patterns with flowers, leaves and dots......a whole lot of dots and then adding some acrylic paint, just for the fun of it.  

some of the pattern, up close

 outlining the shape

 starting to add paint

all finished 

and here is what I am drawing with.


Sunday, 30 November 2014

Jumping off the page

I love working on paper.  Give me a crisp sheet of white paper and you may make me the happiest person on the planet.  But once in while it is nice to jump off the page and create something on another medium.

This time it is MDF, a really cool type of particle board.

I have been playing around with little hangings and here is how the first one came together.......


Friday, 31 October 2014

Free Dream Angel Download

I recently had so much fun drawing the faces of my Flower Girls, that I wanted to try some more, slightly different little girls.  

I am thinking of doing a series of them and shared some WIP pics on the Sugarbird Facebook page of the first one.  A lovely lady suggested it would make a nice embroidery pattern.  So, being the caring, sharing individual that I am (stop laughing) I thought I would share it with you for free!!!!! 


All you have to do is click on the image below and you will be taken to Mediafire.  
You can then download the image and print it out on A4 paper for yourself. 

Feel free to use it for stitchery, colour it in, paint it, zentangle it, it's up to you.

**All I ask is that you use it for personal use only.  Please do not on-sell my image**
And please, please, please let me see what you do with it!!!!


Thursday, 30 October 2014

Making a Mandala Part 3


Part 3
Adding colour


Now that you have the design all worked out and inked up, it is time to add some colour!!!
I have to admit that I am really rather fond of colour pencils - there are so many different ones that can achieve so many different effects. I like to use good quality pencils that give clean solid colour and blend well.


I have two favourites at the moment.  
The ever popular Derwent Artists (the best Christmas present ever) High quality, strong colours and they blend so well.
And, somewhat surprisingly, Faber Castell Classic Colours.  I say 'surprisingly' because they are great value for money.  I get them from K-Mart in a pack of 36 for around $20.  Great colour range, lovely colours and they blend well.  I will be using them to colour this mandala.

There are any number of tutorials on how to achieve shading with colour pencils on the Internet. I am not an expert, I just know what works for me. 


Start by colouring the entire shape in with the lighter colour.  Then add lines radiating out from one point, in the darker colour.  The darker colour only covers 2/3 of the shape, leaving the lighter colour showing on the other 1/3.  Where the two colours meet, lightly go over the area in the darker colour.  This will soften line between the light and dark colours. 


Because the designs of the Mandalas can sometimes be complicated, I like to keep the colour range simple.  The pic above only has 3 colours.  Light green (361), dark green (357) and mid blue (349).  I like to do one set of colours at a time.


The are also only 3 colours in the next set of colours as well .  Light purple ( 339), mid purple (337) and dark purple (341) 
The shading effect is achieved in this step by colouring each shape entirely with the light purple. Then add lines radiating out from one point, with the mid purple.  The mid purple should cover 1/2 of the shape, leaving the lighter colour showing on the other 1/2.  
Add radiating lines out from the same point with the dark purple to cover 1/2 of the mid purple.


Once the pencil colouring is done, it is time to add some dots.  
I use acrylic paint and an assortment of different size stylus, and white pigment ink.


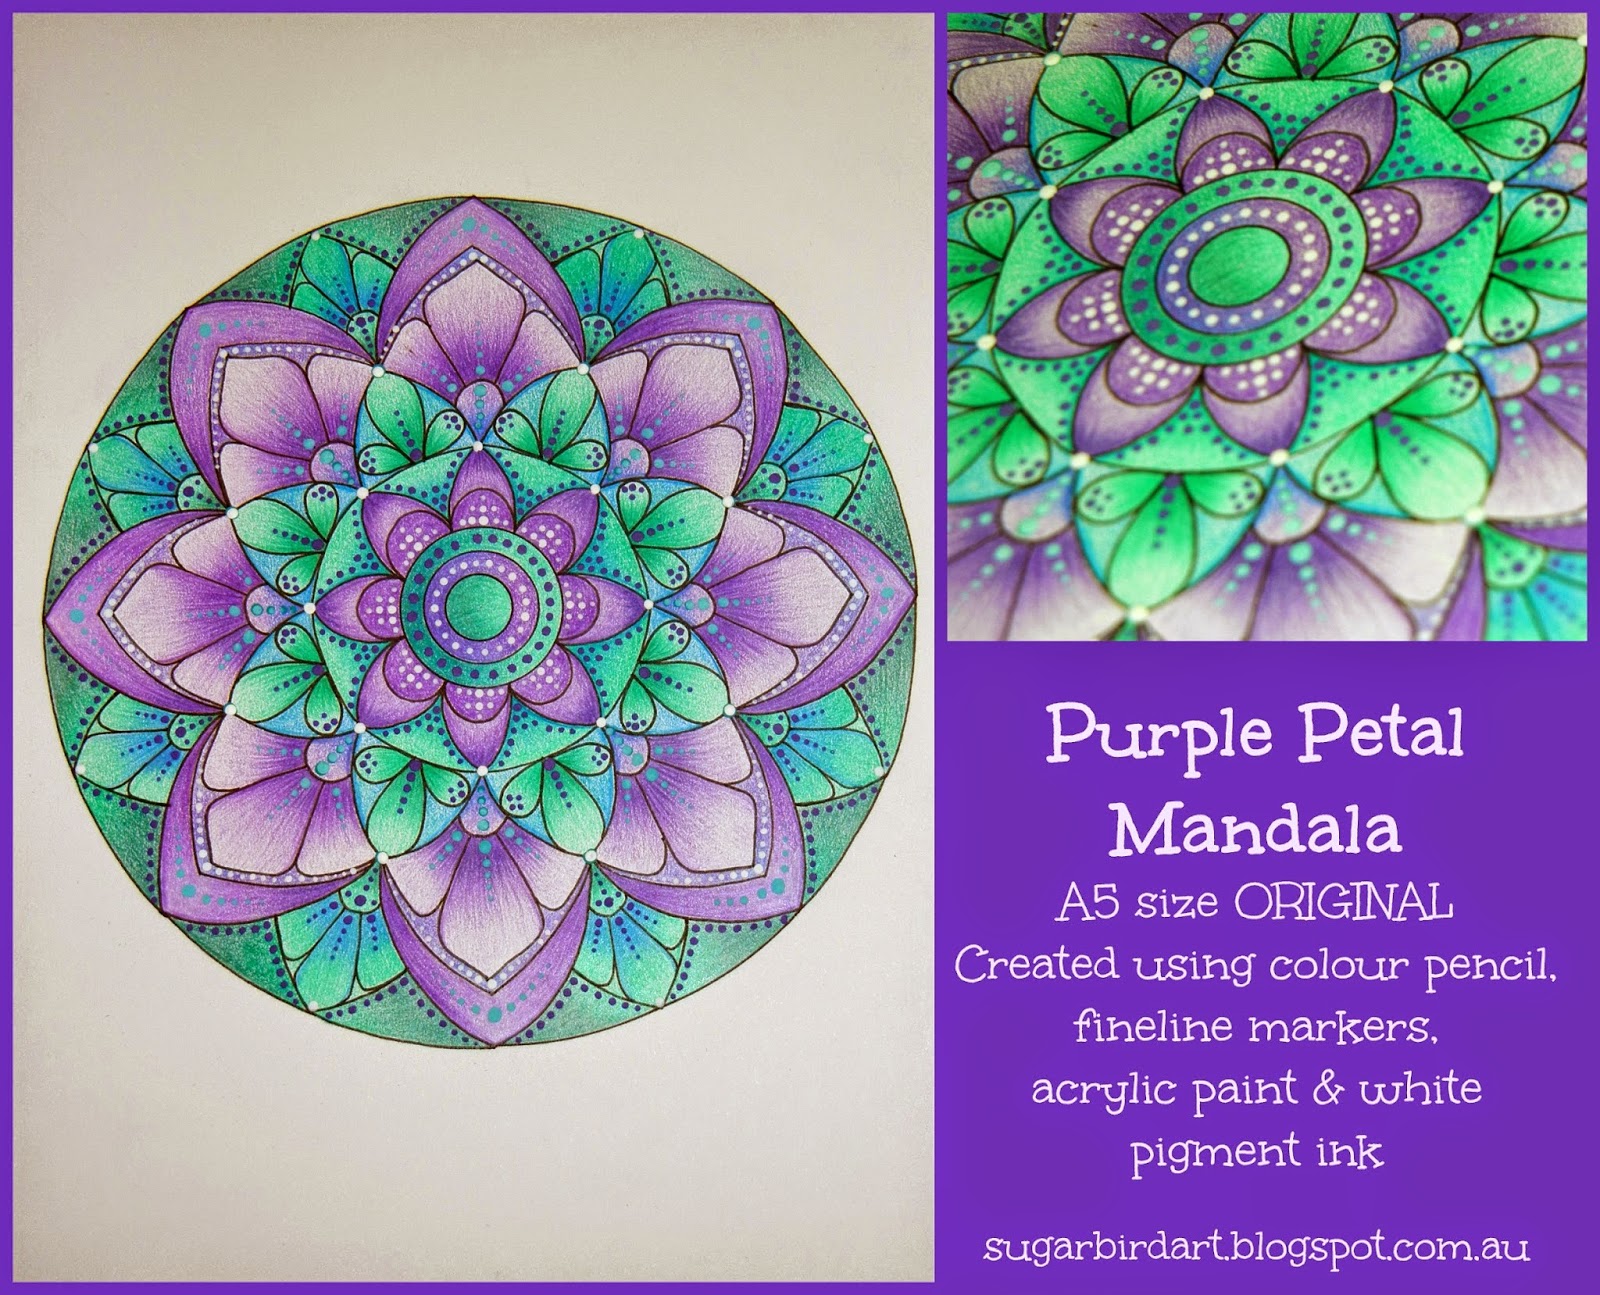
All finished.......
I hope you found my 3 part tutorial entertaining, enjoyable and a little bit informative.
As with most things worth doing, Mandalas take time, patience and practice, but are a whole lot of fun!


The opinions expressed in this tutorial are my own and are completely unsolicited
All products mentioned are judged on their value and performance to me personally.


Related Posts Plugin for WordPress, Blogger...