Showing posts with label Tutorial. Show all posts

Thursday, 30 October 2014

Making a Mandala Part 3


Part 3
Adding colour


Now that you have the design all worked out and inked up, it is time to add some colour!!!
I have to admit that I am really rather fond of colour pencils - there are so many different ones that can achieve so many different effects. I like to use good quality pencils that give clean solid colour and blend well.


I have two favourites at the moment.  
The ever popular Derwent Artists (the best Christmas present ever) High quality, strong colours and they blend so well.
And, somewhat surprisingly, Faber Castell Classic Colours.  I say 'surprisingly' because they are great value for money.  I get them from K-Mart in a pack of 36 for around $20.  Great colour range, lovely colours and they blend well.  I will be using them to colour this mandala.

There are any number of tutorials on how to achieve shading with colour pencils on the Internet. I am not an expert, I just know what works for me. 


Start by colouring the entire shape in with the lighter colour.  Then add lines radiating out from one point, in the darker colour.  The darker colour only covers 2/3 of the shape, leaving the lighter colour showing on the other 1/3.  Where the two colours meet, lightly go over the area in the darker colour.  This will soften line between the light and dark colours. 


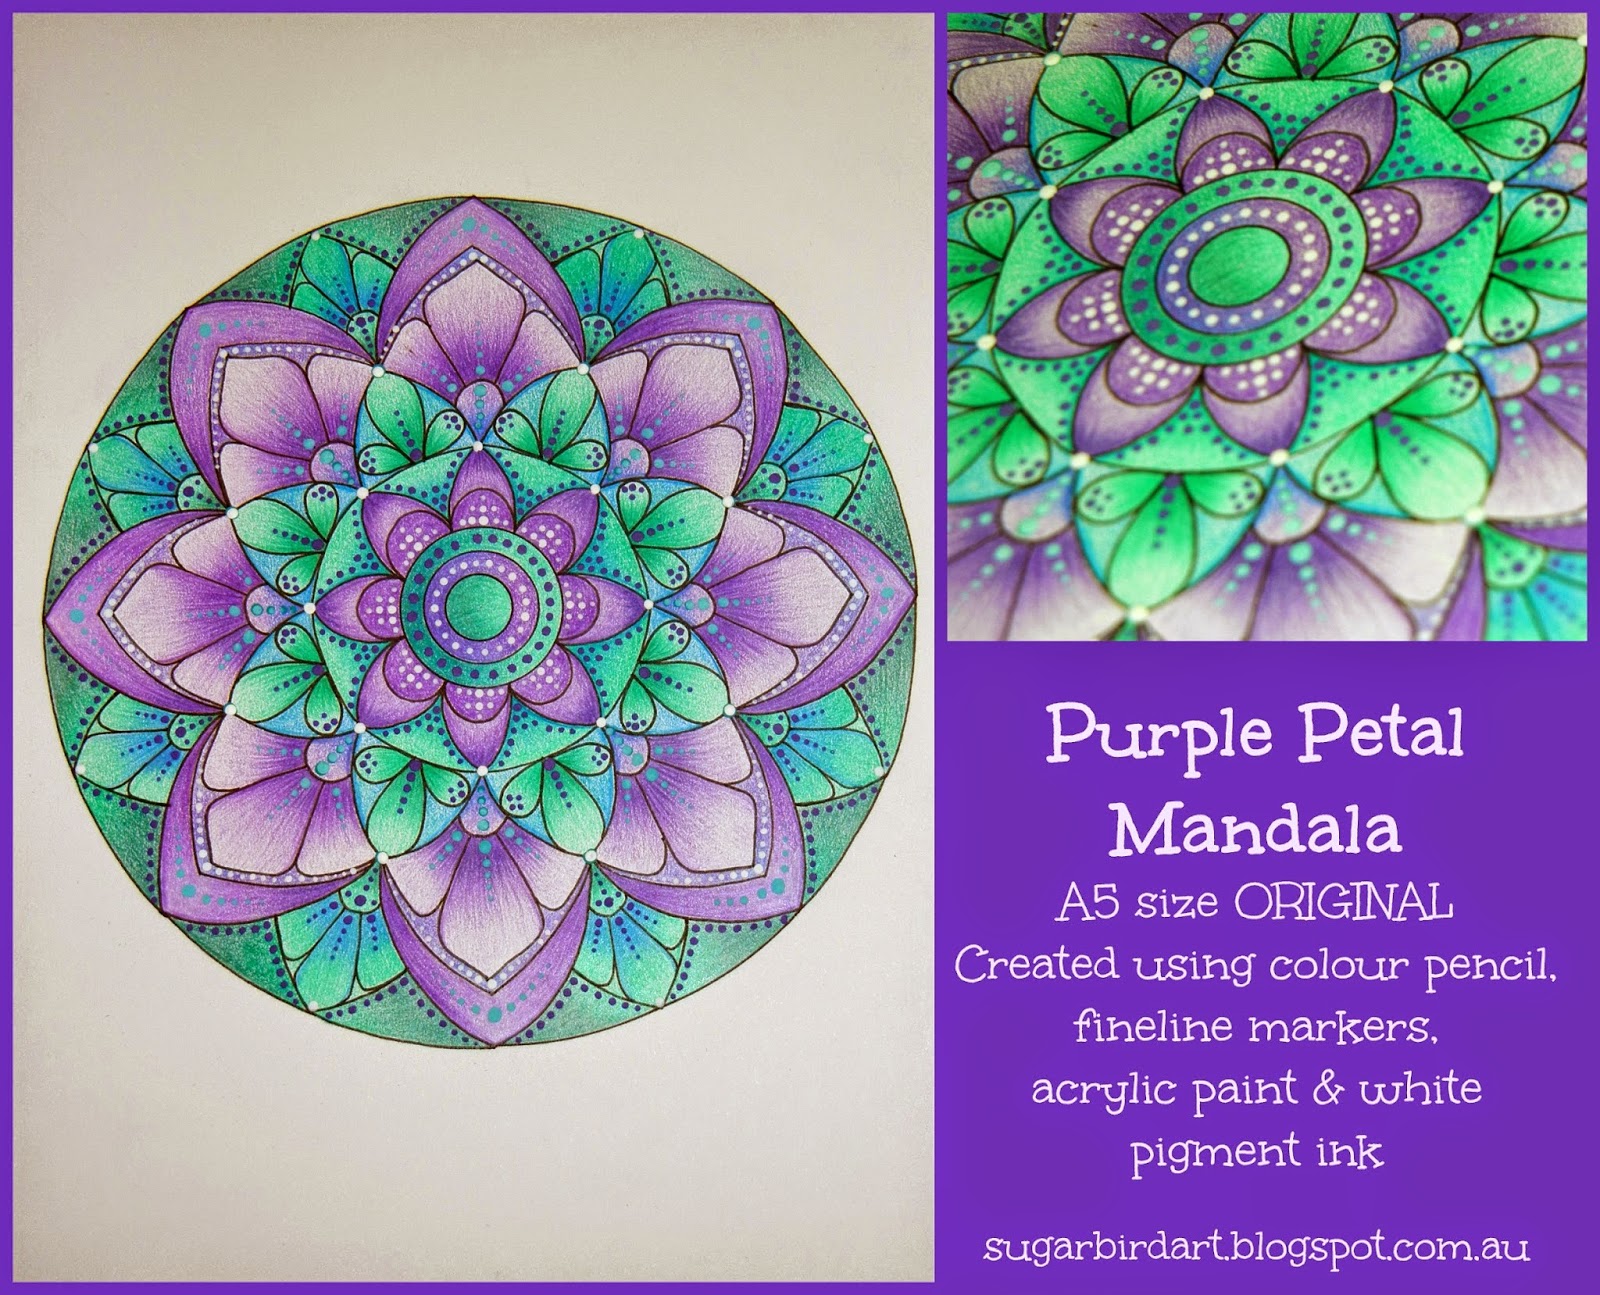
Because the designs of the Mandalas can sometimes be complicated, I like to keep the colour range simple.  The pic above only has 3 colours.  Light green (361), dark green (357) and mid blue (349).  I like to do one set of colours at a time.


The are also only 3 colours in the next set of colours as well .  Light purple ( 339), mid purple (337) and dark purple (341) 
The shading effect is achieved in this step by colouring each shape entirely with the light purple. Then add lines radiating out from one point, with the mid purple.  The mid purple should cover 1/2 of the shape, leaving the lighter colour showing on the other 1/2.  
Add radiating lines out from the same point with the dark purple to cover 1/2 of the mid purple.


Once the pencil colouring is done, it is time to add some dots.  
I use acrylic paint and an assortment of different size stylus, and white pigment ink.


All finished.......
I hope you found my 3 part tutorial entertaining, enjoyable and a little bit informative.
As with most things worth doing, Mandalas take time, patience and practice, but are a whole lot of fun!


The opinions expressed in this tutorial are my own and are completely unsolicited
All products mentioned are judged on their value and performance to me personally.


Saturday, 11 October 2014

Making a Mandala Part 2


Now that I have all of my tools ready (see Part 1 here) it is time to start constructing my mandala.


Step 1.
Using A5 paper (15x21cm).  Draw a 13x13cm square in the middle of the paper, lightly with lead pencil.  Also add vertical, horizontal and diagonal lines to dissect the square.  Make sure that all lines meet in the middle of the square.  8 sections


Step 2. 
Use a compass to draw three circles, approx. evenly spaced. Make the largest circle the same size as the outer square.


Step 3.
Starting at the centre point, divide the 8 sections in half to create a total of 16 sections.  With the compass draw a smaller circle in the centre


Step 4.
Using the 16 sections and circle,s freehand draw the basic design 


Step 5. 
Start inking in the basic design with the circle template for a couple of smaller circles in the middle of the design.


Step 6.
Once you have inked in the basic design, start adding details in lead pencil.  I find this the most fun part of the construction.  You still have all of the original foundation lines and circles to use as design elements.  


Step 7.
Once you have inked in your design, erase all of the lead pencil marks and now you are ready for colour!!!!!!!


See you at Part 3 for that.

Saturday, 4 October 2014

Making a Mandala Part 1


One of my favourite designs is the mandala.  There are so many pattern possibilities with it.
Once I start working on one I can loose hours of time being so absorbed with it.

Part 1

**Part 2 Click here**
**Part 3 Click here**

Tools of the Trade
  After lots of trial and error these are the tools and materials I like to use.  They are good quality without being ridiculously expensive.  And they can mostly be bought from office supply and craft shops. 


Metal ruler - Always has a straight crisp edge.  My wood and plastic ones always end of with dints and nicks in the edges.

Staedtler Eraser -  I always have at least 3 of these handy.  They very rarely smudge when rubbing out pencil marks and they don't tear or rough up the surface of the paper.

Pacer pencil - with a 2B lead - Easy to erase and does not need sharpening.

Pigma Micron Pen -  Black 02 pen.  Archival, waterproof and fade proof.  I use these on all of my drawings.  They are accurate, rarely bleed into good quality paper and don't smudge.

Staedtler Compass - One of my fave tools.  I have had it for more years than I care to count.  Very accurate and easy to use.

Circle Templates - The orange one is Fiskars and came from a scrapbooking shop.  The Clear one is a Celco maths one and came from Officeworks. These are brilliant because freehand circles can be a bit tricky.

Quill Paper - 200gsm XL Multiboard Paper - Crisp white colour, good thickness, does not pill when eraser is used on it.  Holds colour pencil colour well.


The other three very important items I need when creating mandalas are........

Indie the cat  - she is great company and she can always manage to walk off with the pencil I need! 

Coffee - A good hot cup of coffee (sadly I haven't found a bottomless cup yet)

Patience - I don't really start out with a design in mind.  It just sort of evolves as I put pencil to paper.  A bit of patience and time is a great starting point for anything creative.

***********************

Be sure to check back in a couple of days for the next instalment of Making a Mandala
And if you have any questions or comments so far, I would love to hear them. 

Sunday, 17 August 2014

Flower Waves

Call me weird, but I LOVE drawing little circles, colouring them in and then filling them with little doodle designs.  Here is how one all came together for the lovely Claire.

It is created with Faber-Castell Polychromos pencils and fine line markers on A4 acid free paper. 


Friday, 6 September 2013

Classy Cannisters


When three thoughts come together.......

1.    Two of the little things in life that make me happy are coffee and recycling.  So I was doubly chuffed when it dawned on me that I could recycle our coffee tins.  Don't get me wrong, previously they never actually made it into the bin, hubby usually whisked them away for use in his workshop.  

2.    I was recently pondering how to inexpensively revamp my pantry.  I have taken more of an interest in cooking from scratch lately and have lots of ingredients in bags and other assorted mismatched containers.

3.    I love using mod podge

Thoroughly clean and dry the inside of the container and remove the outer label.

Select your scrapbooking paper.  Measure container and cut paper accordingly.  With a sponge brush, apply mod podge to the wrong side of the paper and position it on the container, being careful not to have any air bubbles.

Set aside and allow to dry.  I then added the labels, but you could do this at the end if you think you might change them later
Apply 3 coats of mod podge to the papered container, allowing 20 minutes drying time between each coat.    

 And there you have it - some recycling and a really inexpensive way to jazz up your pantry...or indeed any area of your home that needs a bit of updating.


You can use a can opener to remove the lid lip and then they make great  containers for holding kitchen utensils, pens, pencils and anything else you can think of.

Tuesday, 4 June 2013

Crochet Owl Brooch Pattern


These cute little guys at around 5.5cm high are the perfect size to make into brooches, bag tags, magnets or anything else your heart desires.  

Note - this is a free pattern.  You are free to make as many as you like, as they would make great items for Christmas, fetes, etc.  I only ask that if you share this pattern online that you please link back to Sugarbird - thank you :) 

This pattern assumes you know the basic of crochet.
And as this is only the second crochet pattern I have ever written, I would appreciate any (constructive) feedback.

Materials
2 colours Bella Baby Bambini wool (or any scraps you have of baby wool)
2.5mm crochet hook
2 buttons (for eyes)
Brown felt (for beak)
1 brooch back
White thread for eyes and brown thread for beak
Polyfill (for stuffing)
Normal needle for attaching eyes and beak
Darning needle
scissors    

Terms
ch      chain
sl st   slip stitch
sc      single crochet
dc      double crochet

Make three ch and sl st into first chain to form a small ring


Row 1    3 ch to count as first dc.  11 dc into ring. Sl st into first 3 chains  Total of 12 dc 


Row 2    Change wool colour - sl st into first space BETWEEN the stitches in row 1.  3 ch to count as fist dc. Dc into same space.  2 dc into each remaining spaces.  Sl st into first 3 chains  Total 24 stitches
   
Row 3   Change wool colour - sl st into first space BETWEEN the stitches in row 2.  2 ch into 1st space.  sc into each remaining space.  sl st into first 2 chain.

ROW 4   Work this row into the stitches of Row 3. 2 ch - counts as first dc.  2 dc into next stitch - 1dc - 2 - dc - 1dc - 2 dc - 1 dc - turn work

  Row 5   Work this row into the stitches of Row 4.  2 ch - counts as first dc.  2 dc into next stitch - 1 dc - 4 sc - 1dc - 2dc - 1 dc

Make another owl exactly the same as the first.  Finish off threads.

Beak   Cut a small triangle of brown felt and stitch onto one owl, with matching thread.

Eyes    With white thread stitch on the eyes.


 Brooch Back    Attach brooch back with yarn to the other owl piece.


With matching yarn, stitch owl pieces together with wrong sides together - leave a small opening to insert polyfil and then finished stitching the pieces together.


And there you have it!!!  One cute little owl brooch - see if you can stop at just one!!!!!!


Thursday, 30 May 2013

Paint Tags

I love working with paint sample cards.....so many different colours and so many possibilities.  This time I decided on gift tags because I haven't made any in a while.  And I decided to use white pigment ink.......because it was on the coffee table and I was comfortable on the lounge (of course)
Here is how I made the first set.......


Firstly I picked my colours


I drew circles on the back


I cut the circles out


and then the fun part - I started drawing!


To finish them off I punched holes and added cord - All finished - now onto the next set :)

Tuesday, 21 May 2013

Coaster Tutorial

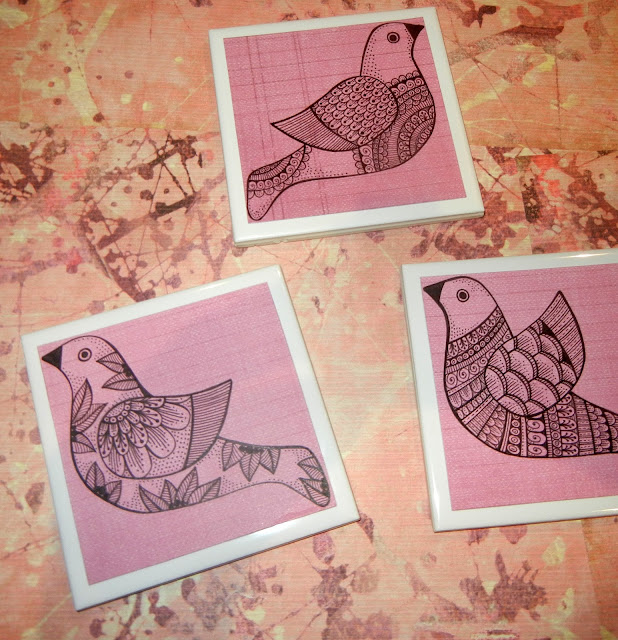
Having had my collection of patchwork coasters depleted to nothing by being sucked into the vacuum cleaner, eaten by the cat, and generally going missing in action, I was on the look out for something more sturdy and robust.  This is what I came up with after wondering through the internet, rather than the shopping centre, Mod Podge Coasters.......


You will need
Square ceramic tiles from a hardware or tile store.
Scrapbooking paper, wrapping paper, or spend 3 hours drawing your own images like I did.
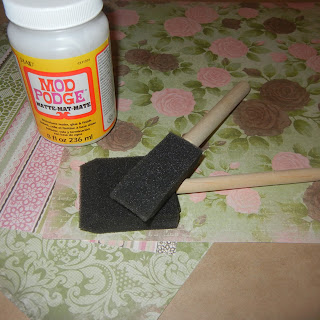
Mod Podge
Sponge Brush
Foam or rubber circles or squares
PVA Glue


Cut your paper 1cm smaller than your tile - My tiles are 9.5cm x 9.5cm so my paper is 8.5cm x 8.5cm


Using the sponge brush, apply Mod Podge evenly to the back of the paper, and position it on the tiles.  Press down on the paper firmly, especially around the edges.


Set aside and allow to dry for around 20 minutes


Brush one coat of Mod Podge onto the entire top of the coaster.  Set aside and allow to dry for around 20 minutes.  Repeat for another 3 coats.


Onto the back of each tile glue foam or rubber feet.  Allow to dry


I am thinking that these would also make good birthday and Christmas presents, especially if the drawings were more personalised.  You could also use greeting card images, photos or even fabric.....so many posibilities....
Related Posts Plugin for WordPress, Blogger...