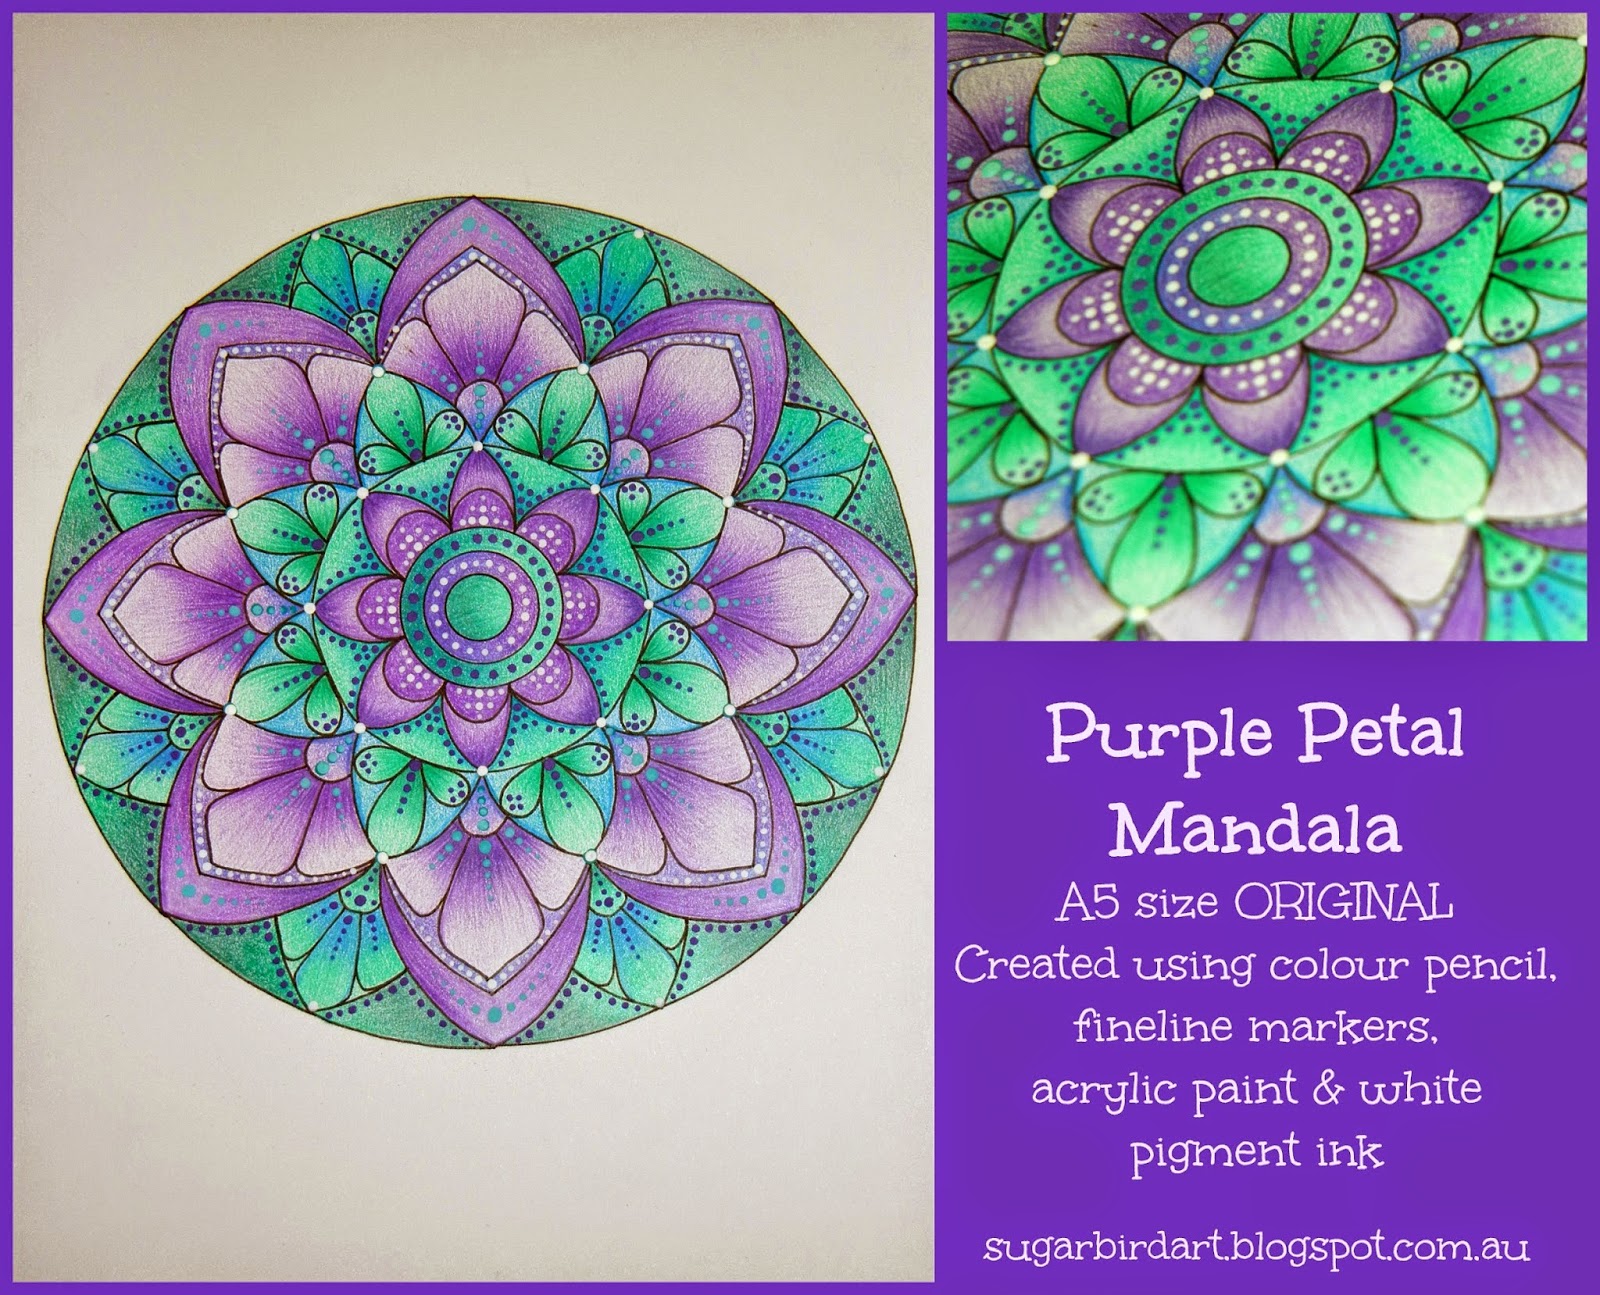
just some eye candy for your viewing pleasure.......all colour pencil on paper.
Showing posts with label creating a mandala. Show all posts
Thursday, 27 November 2014
Eye Candy
Labels:
cirles,
colouring,
creating a mandala,
decorated,
design,
doodle,
doodles,
drawing,
drawing mandala,
flower,
flower girl,
flower.Sugarbird,
flowers,
garden,
pattern,
patterns,
scrap booking paper,
Spectrum Noir
Thursday, 30 October 2014
Making a Mandala Part 3
Part 3
Adding colour
Now that you have the design all worked out and inked up, it is time to add some colour!!!
I have to admit that I am really rather fond of colour pencils - there are so many different ones that can achieve so many different effects. I like to use good quality pencils that give clean solid colour and blend well.
I have two favourites at the moment.
The ever popular Derwent Artists (the best Christmas present ever) High quality, strong colours and they blend so well.
And, somewhat surprisingly, Faber Castell Classic Colours. I say 'surprisingly' because they are great value for money. I get them from K-Mart in a pack of 36 for around $20. Great colour range, lovely colours and they blend well. I will be using them to colour this mandala.
There are any number of tutorials on how to achieve shading with colour pencils on the Internet. I am not an expert, I just know what works for me.
Start by colouring the entire shape in with the lighter colour. Then add lines radiating out from one point, in the darker colour. The darker colour only covers 2/3 of the shape, leaving the lighter colour showing on the other 1/3. Where the two colours meet, lightly go over the area in the darker colour. This will soften line between the light and dark colours.
Because the designs of the Mandalas can sometimes be complicated, I like to keep the colour range simple. The pic above only has 3 colours. Light green (361), dark green (357) and mid blue (349). I like to do one set of colours at a time.
The are also only 3 colours in the next set of colours as well . Light purple ( 339), mid purple (337) and dark purple (341)
The shading effect is achieved in this step by colouring each shape entirely with the light purple. Then add lines radiating out from one point, with the mid purple. The mid purple should cover 1/2 of the shape, leaving the lighter colour showing on the other 1/2.
Add radiating lines out from the same point with the dark purple to cover 1/2 of the mid purple.
Once the pencil colouring is done, it is time to add some dots.
I use acrylic paint and an assortment of different size stylus, and white pigment ink.
All finished.......
I hope you found my 3 part tutorial entertaining, enjoyable and a little bit informative.
As with most things worth doing, Mandalas take time, patience and practice, but are a whole lot of fun!
The opinions expressed in this tutorial are my own and are completely unsolicited
All products mentioned are judged on their value and performance to me personally.
Saturday, 4 October 2014
Making a Mandala Part 1
One of my favourite designs is the mandala. There are so many pattern possibilities with it.
Once I start working on one I can loose hours of time being so absorbed with it.
Part 1
**Part 2 Click here**
**Part 3 Click here**
Tools of the Trade
After lots of trial and error these are the tools and materials I like to use. They are good quality without being ridiculously expensive. And they can mostly be bought from office supply and craft shops.
Part 1
**Part 2 Click here**
**Part 3 Click here**
Tools of the Trade
After lots of trial and error these are the tools and materials I like to use. They are good quality without being ridiculously expensive. And they can mostly be bought from office supply and craft shops.
Staedtler Eraser - I always have at least 3 of these handy. They very rarely smudge when rubbing out pencil marks and they don't tear or rough up the surface of the paper.
Pacer pencil - with a 2B lead - Easy to erase and does not need sharpening.
Pigma Micron Pen - Black 02 pen. Archival, waterproof and fade proof. I use these on all of my drawings. They are accurate, rarely bleed into good quality paper and don't smudge.
Staedtler Compass - One of my fave tools. I have had it for more years than I care to count. Very accurate and easy to use.
Circle Templates - The orange one is Fiskars and came from a scrapbooking shop. The Clear one is a Celco maths one and came from Officeworks. These are brilliant because freehand circles can be a bit tricky.
Quill Paper - 200gsm XL Multiboard Paper - Crisp white colour, good thickness, does not pill when eraser is used on it. Holds colour pencil colour well.
The other three very important items I need when creating mandalas are........
Indie the cat - she is great company and she can always manage to walk off with the pencil I need!
Coffee - A good hot cup of coffee (sadly I haven't found a bottomless cup yet)
Patience - I don't really start out with a design in mind. It just sort of evolves as I put pencil to paper. A bit of patience and time is a great starting point for anything creative.
***********************
Be sure to check back in a couple of days for the next instalment of Making a Mandala
And if you have any questions or comments so far, I would love to hear them.
Subscribe to:
Posts (Atom)