Showing posts with label design. Show all posts
Wednesday, 9 September 2015
Thursday, 27 November 2014
Eye Candy
Labels:
cirles,
colouring,
creating a mandala,
decorated,
design,
doodle,
doodles,
drawing,
drawing mandala,
flower,
flower girl,
flower.Sugarbird,
flowers,
garden,
pattern,
patterns,
scrap booking paper,
Spectrum Noir
Thursday, 30 October 2014
Making a Mandala Part 3
Part 3
Adding colour
Now that you have the design all worked out and inked up, it is time to add some colour!!!
I have to admit that I am really rather fond of colour pencils - there are so many different ones that can achieve so many different effects. I like to use good quality pencils that give clean solid colour and blend well.
I have two favourites at the moment.
The ever popular Derwent Artists (the best Christmas present ever) High quality, strong colours and they blend so well.
And, somewhat surprisingly, Faber Castell Classic Colours. I say 'surprisingly' because they are great value for money. I get them from K-Mart in a pack of 36 for around $20. Great colour range, lovely colours and they blend well. I will be using them to colour this mandala.
There are any number of tutorials on how to achieve shading with colour pencils on the Internet. I am not an expert, I just know what works for me.
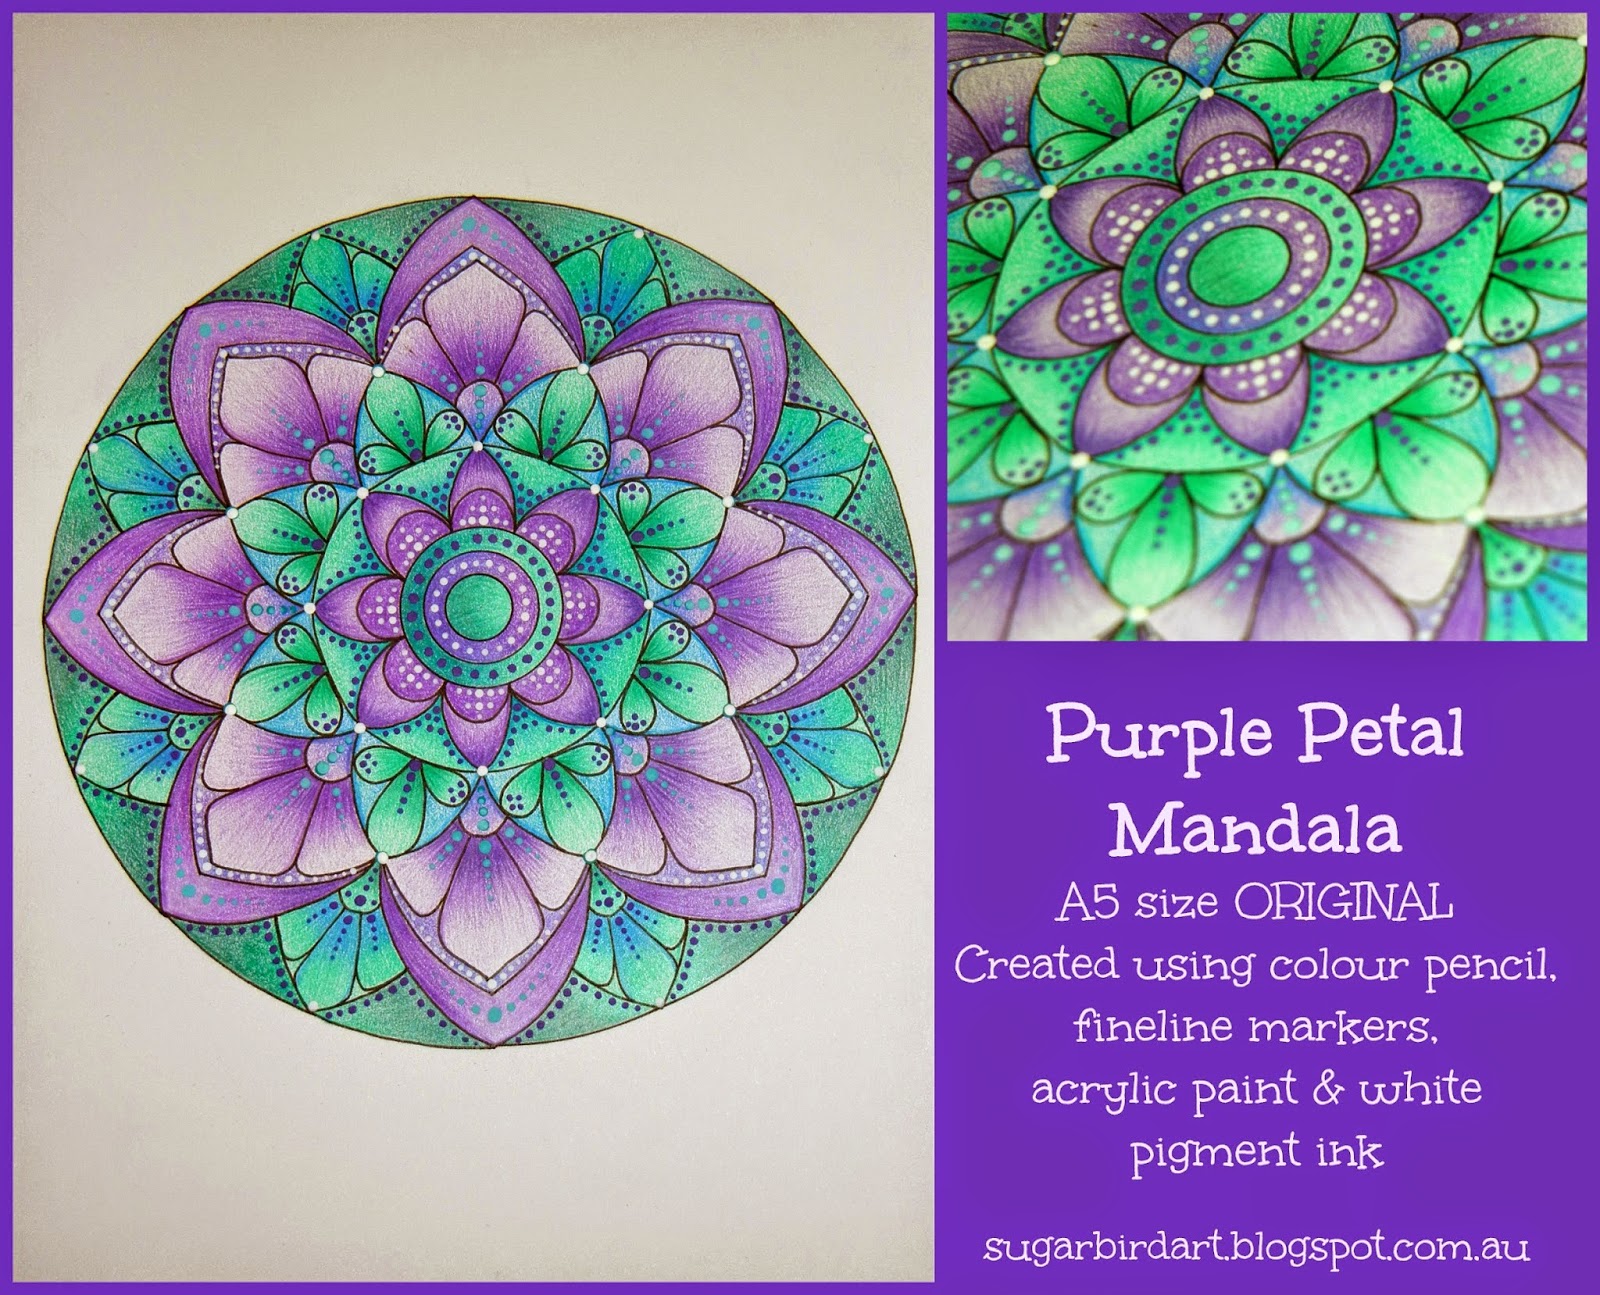
Start by colouring the entire shape in with the lighter colour. Then add lines radiating out from one point, in the darker colour. The darker colour only covers 2/3 of the shape, leaving the lighter colour showing on the other 1/3. Where the two colours meet, lightly go over the area in the darker colour. This will soften line between the light and dark colours.
Because the designs of the Mandalas can sometimes be complicated, I like to keep the colour range simple. The pic above only has 3 colours. Light green (361), dark green (357) and mid blue (349). I like to do one set of colours at a time.
The are also only 3 colours in the next set of colours as well . Light purple ( 339), mid purple (337) and dark purple (341)
The shading effect is achieved in this step by colouring each shape entirely with the light purple. Then add lines radiating out from one point, with the mid purple. The mid purple should cover 1/2 of the shape, leaving the lighter colour showing on the other 1/2.
Add radiating lines out from the same point with the dark purple to cover 1/2 of the mid purple.
Once the pencil colouring is done, it is time to add some dots.
I use acrylic paint and an assortment of different size stylus, and white pigment ink.
All finished.......
I hope you found my 3 part tutorial entertaining, enjoyable and a little bit informative.
As with most things worth doing, Mandalas take time, patience and practice, but are a whole lot of fun!
The opinions expressed in this tutorial are my own and are completely unsolicited
All products mentioned are judged on their value and performance to me personally.
Saturday, 11 October 2014
Making a Mandala Part 2
Now that I have all of my tools ready (see Part 1 here) it is time to start constructing my mandala.
Step 1.
Using A5 paper (15x21cm). Draw a 13x13cm square in the middle of the paper, lightly with lead pencil. Also add vertical, horizontal and diagonal lines to dissect the square. Make sure that all lines meet in the middle of the square. 8 sections
Step 2.
Use a compass to draw three circles, approx. evenly spaced. Make the largest circle the same size as the outer square.
Step 3.
Starting at the centre point, divide the 8 sections in half to create a total of 16 sections. With the compass draw a smaller circle in the centre

Step 4.
Using the 16 sections and circle,s freehand draw the basic design
Step 5.
Start inking in the basic design with the circle template for a couple of smaller circles in the middle of the design.
Step 6.
Once you have inked in the basic design, start adding details in lead pencil. I find this the most fun part of the construction. You still have all of the original foundation lines and circles to use as design elements.
Step 7.
Once you have inked in your design, erase all of the lead pencil marks and now you are ready for colour!!!!!!!
See you at Part 3 for that.
Saturday, 20 September 2014
Flower Girls
I am trying something a little different at the moment and adding figures to my flowers.....as per usual, it is lots of fun and I don't seem to be able to stop at one.
Tuesday, 9 September 2014
Pretty in Pink (Skull)
I just couldn't help myself....I really enjoyed drawing the first sugar skull, so I had to do another one.......enjoy!
Wednesday, 3 September 2014
Sugar(bird) Skull
skulls? no, I don't draw skulls, why would I?
Oh, with patterns and flowers and swirls....well of course I can give it a try!!
Wednesday, 27 August 2014
Sunday, 17 August 2014
Flower Waves
Call me weird, but I LOVE drawing little circles, colouring them in and then filling them with little doodle designs. Here is how one all came together for the lovely Claire.
It is created with Faber-Castell Polychromos pencils and fine line markers on A4 acid free paper.
Labels:
black,
black and white,
colouring,
design,
doodle,
doodles,
drawing,
flower,
flower.Sugarbird,
flowers,
Tutorial
Saturday, 2 August 2014
Floral Heart
A floral heart commission and how it all came together. This was one with fine line markers and colour pencils. Blue and yellow are not my normal colours, but I think they came together rather nicely. I hope you like it.
Subscribe to:
Posts (Atom)


%2BSkull%2BCollage.jpg)