These cute little guys at around 5.5cm high are the perfect size to make into brooches, bag tags, magnets or anything else your heart desires.
Note - this is a free pattern. You are free to make as many as you like, as they would make great items for Christmas, fetes, etc. I only ask that if you share this pattern online that you please link back to Sugarbird - thank you :)
This pattern assumes you know the basic of crochet.
And as this is only the second crochet pattern I have ever written, I would appreciate any (constructive) feedback.
Materials
2 colours Bella Baby Bambini wool (or any scraps you have of baby wool)
2.5mm crochet hook
2 buttons (for eyes)
Brown felt (for beak)
1 brooch back
White thread for eyes and brown thread for beak
Polyfill (for stuffing)
Normal needle for attaching eyes and beak
Darning needle
scissors
Terms
ch chain
sl st slip stitch
sc single crochet
dc double crochet
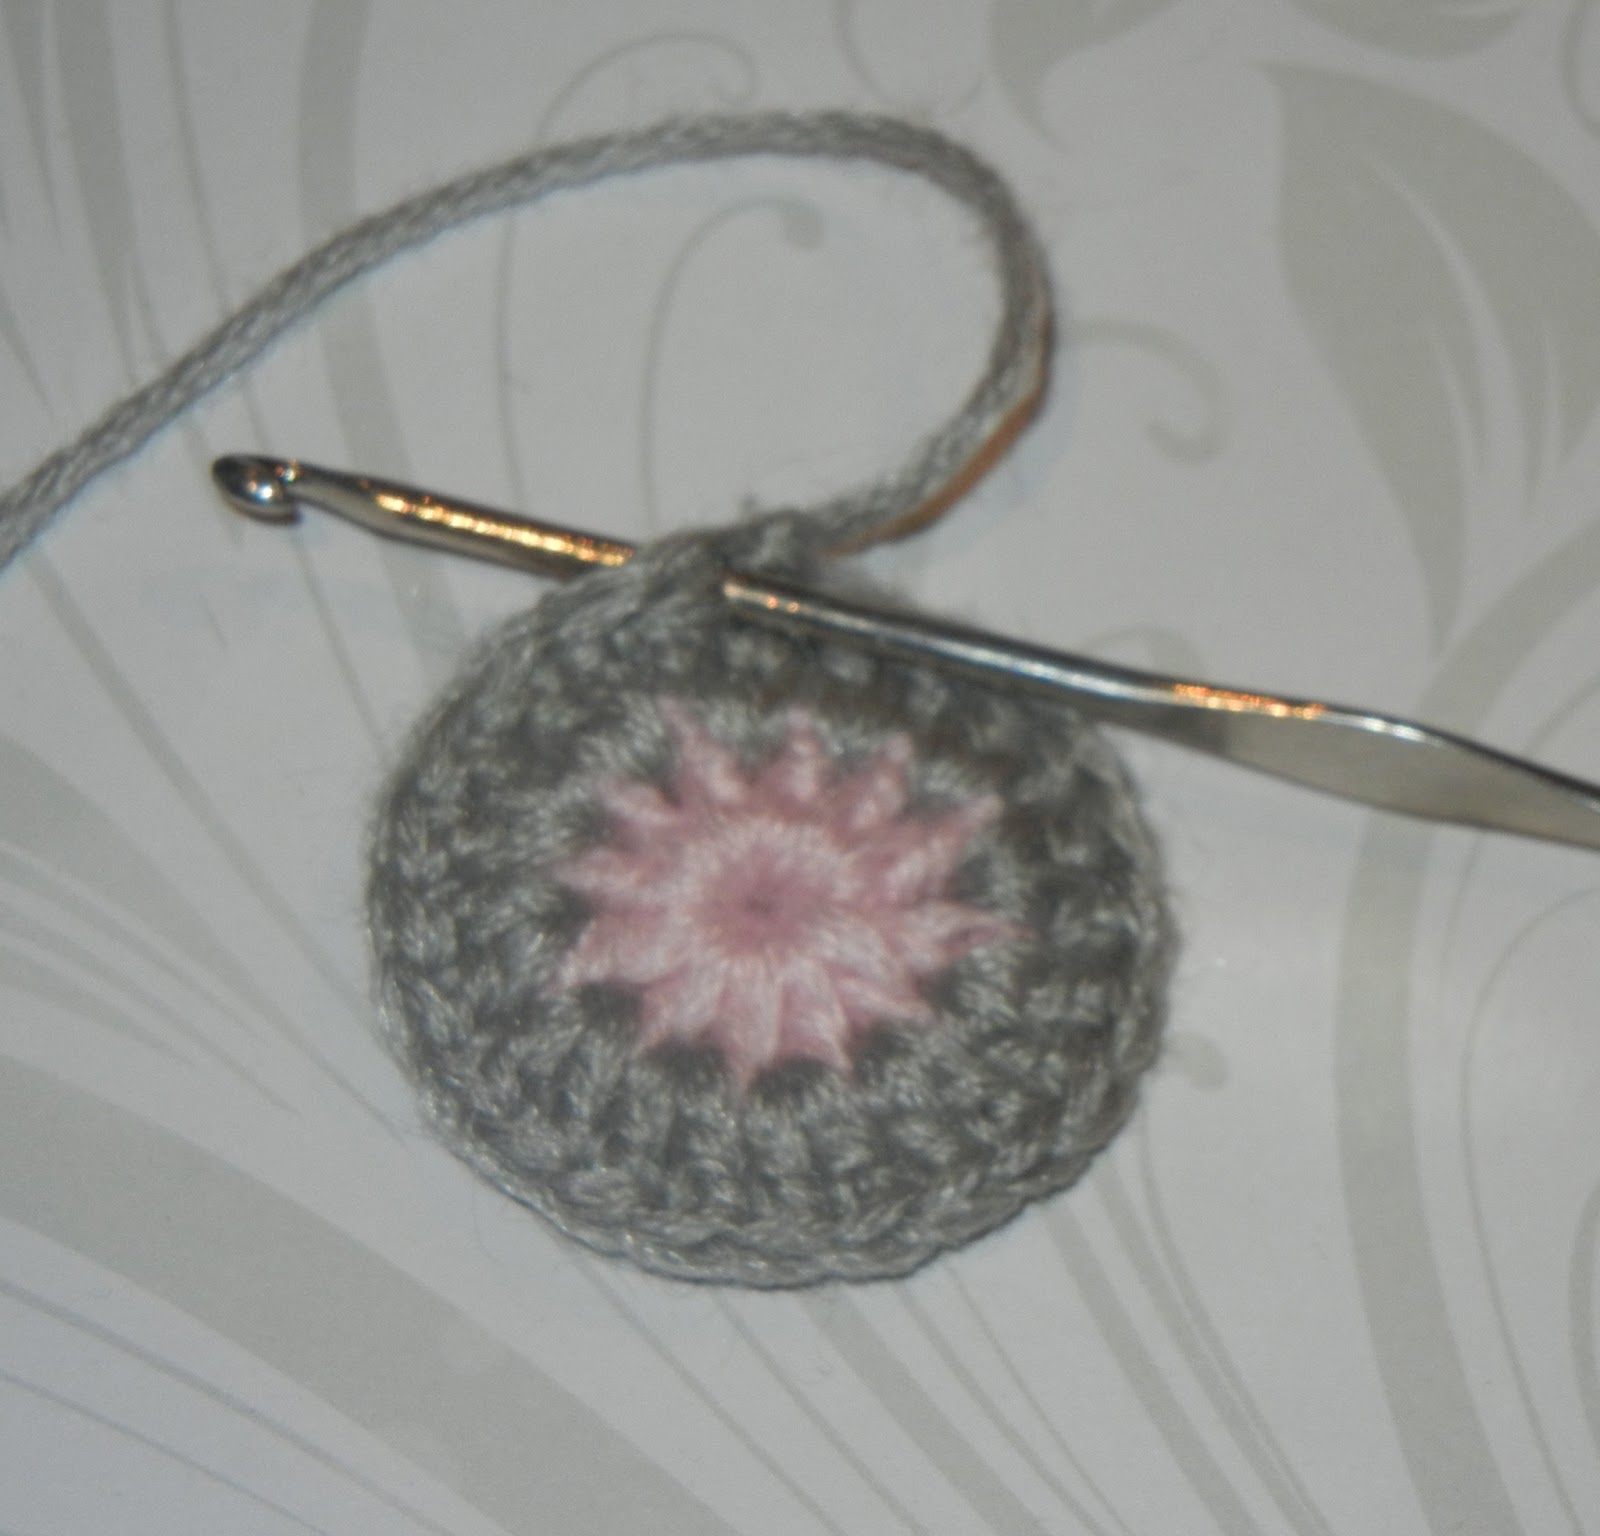
Make three ch and sl st into first chain to form a small ring
Row 1 3 ch to count as first dc. 11 dc into ring. Sl st into first 3 chains Total of 12 dc
Row 2 Change wool colour - sl st into first space BETWEEN the stitches in row 1. 3 ch to count as fist dc. Dc into same space. 2 dc into each remaining spaces. Sl st into first 3 chains Total 24 stitches
Row 3 Change wool colour - sl st into first space BETWEEN the stitches in row 2. 2 ch into 1st space. sc into each remaining space. sl st into first 2 chain.
ROW 4 Work this row into the stitches of Row 3. 2 ch - counts as first dc. 2 dc into next stitch - 1dc - 2 - dc - 1dc - 2 dc - 1 dc - turn work
Row 5 Work this row into the stitches of Row 4. 2 ch - counts as first dc. 2 dc into next stitch - 1 dc - 4 sc - 1dc - 2dc - 1 dc
Make another owl exactly the same as the first. Finish off threads.
Beak Cut a small triangle of brown felt and stitch onto one owl, with matching thread.
Eyes With white thread stitch on the eyes.
Brooch Back Attach brooch back with yarn to the other owl piece.
With matching yarn, stitch owl pieces together with wrong sides together - leave a small opening to insert polyfil and then finished stitching the pieces together.
And there you have it!!! One cute little owl brooch - see if you can stop at just one!!!!!!