
Having had my collection of patchwork coasters depleted to nothing by being sucked into the vacuum cleaner, eaten by the cat, and generally going missing in action, I was on the look out for something more sturdy and robust. This is what I came up with after wondering through the internet, rather than the shopping centre, Mod Podge Coasters.......

You will need
Square ceramic tiles from a hardware or tile store.
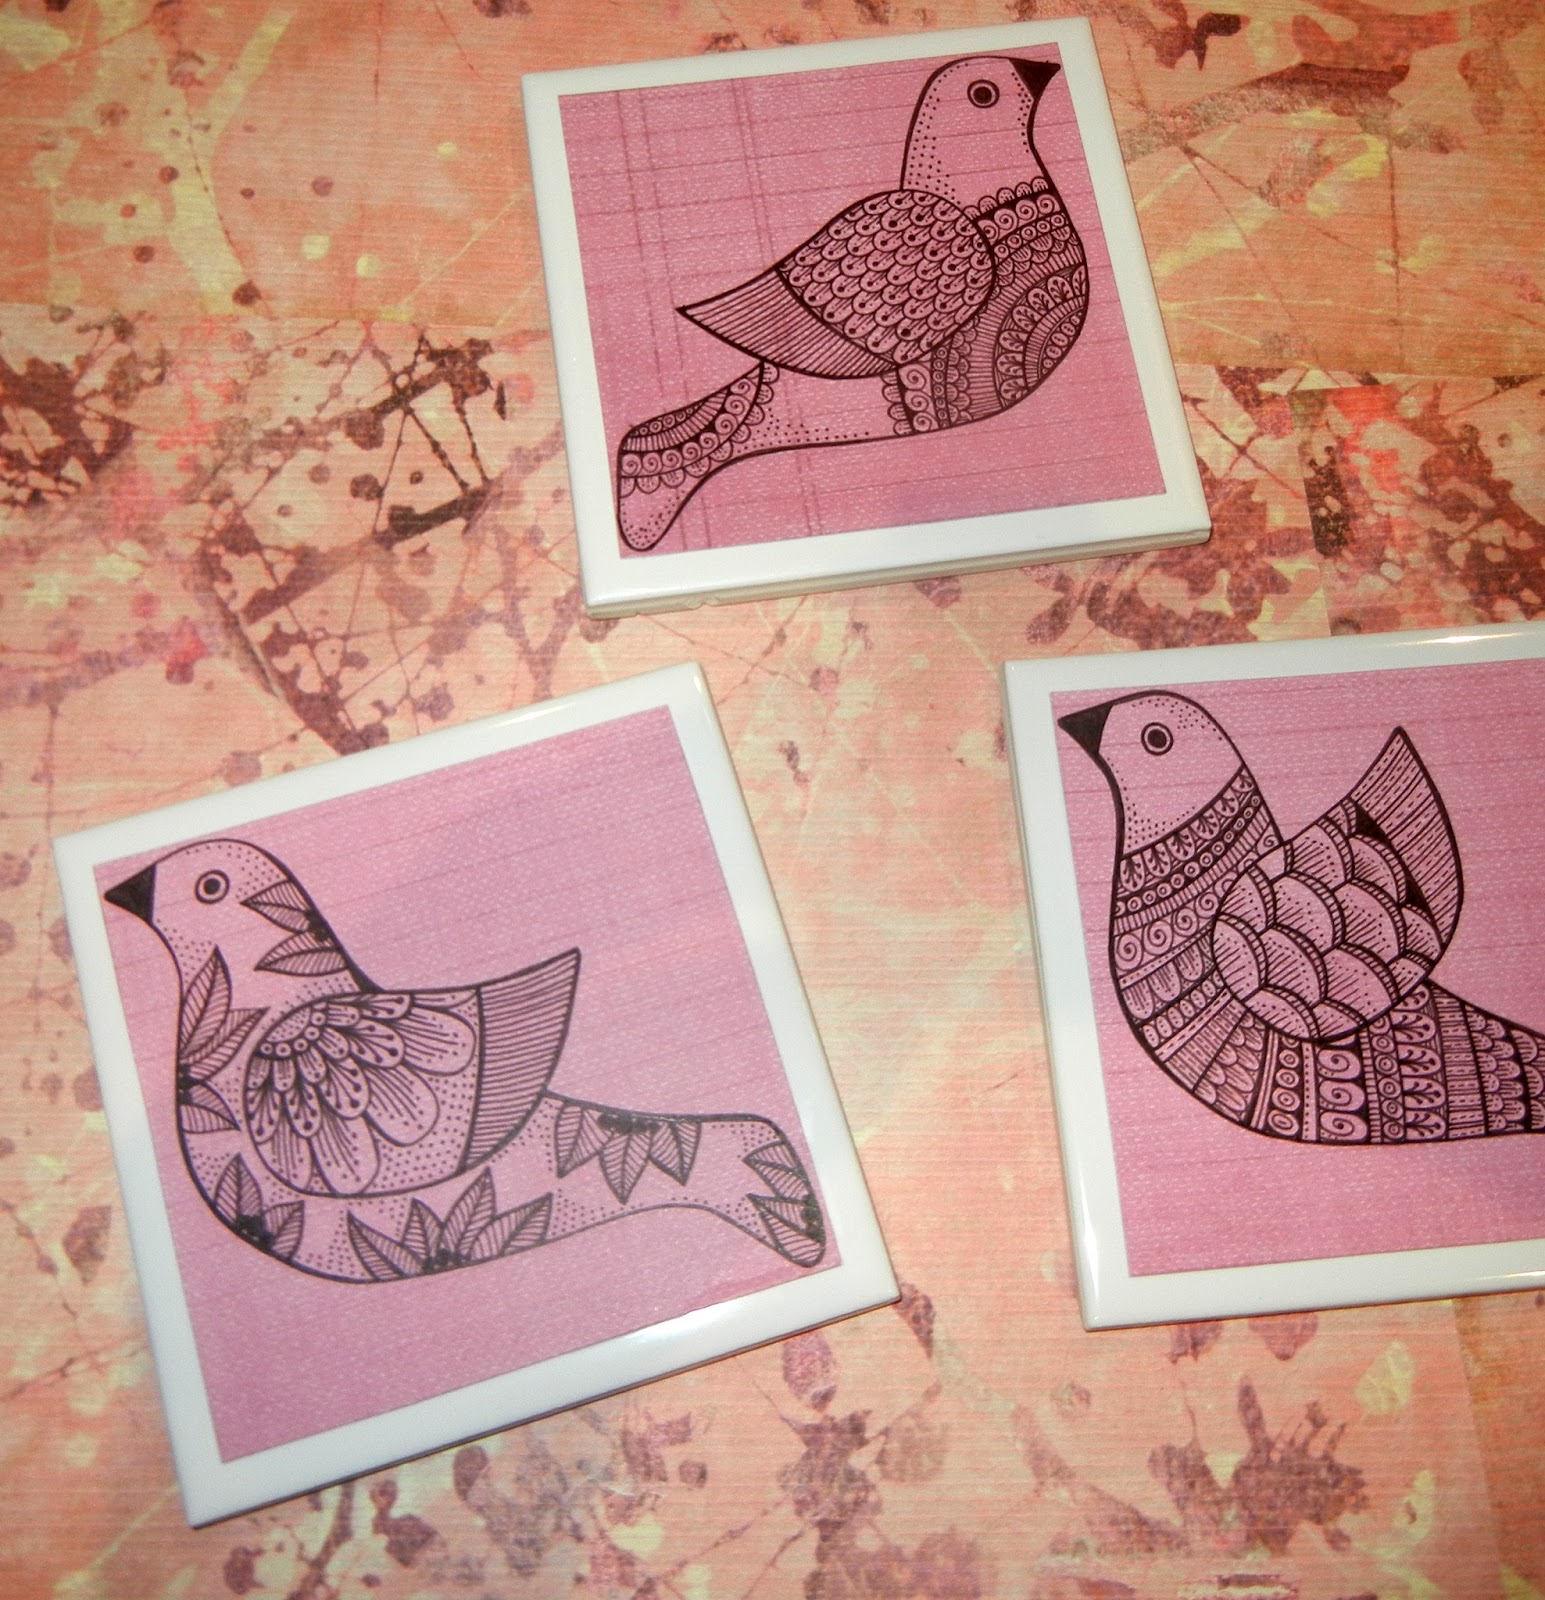
Scrapbooking paper, wrapping paper, or spend 3 hours drawing your own images like I did.
Mod Podge
Sponge Brush
Foam or rubber circles or squares
PVA Glue

Cut your paper 1cm smaller than your tile - My tiles are 9.5cm x 9.5cm so my paper is 8.5cm x 8.5cm

Using the sponge brush, apply Mod Podge evenly to the back of the paper, and position it on the tiles. Press down on the paper firmly, especially around the edges.
Set aside and allow to dry for around 20 minutes

Brush one coat of Mod Podge onto the entire top of the coaster. Set aside and allow to dry for around 20 minutes. Repeat for another 3 coats.

Onto the back of each tile glue foam or rubber feet. Allow to dry

I am thinking that these would also make good birthday and Christmas presents, especially if the drawings were more personalised. You could also use greeting card images, photos or even fabric.....so many posibilities....
So pretty Karen
ReplyDeleteI really could do with some of these - what a great idea! :)
ReplyDelete